This is a new idea I guess to store baby clothes and other baby items and later it can also be used for toys.
So we are expecting Grandchild number 3. And our Daughter was needing a place to store the baby clothes, diapers, wipes and more. So after looking at some different options she also wanted something that could be used for storing toys as the baby grew up. So we saw a few examples on Amazon click here to see the pricing for the storage shown below

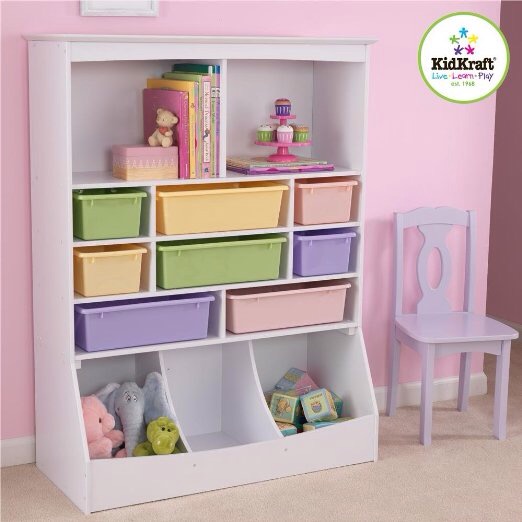
Click here. To see the above cubby storage on Amazon. So I built something in between these two in the colors that our Daughter picked out.
First I started out with a drawing of what I wanted the storage to look like. And then picked up a 4×8′ 3/4 inch plywood at the Big Box Store and had them cut it into an 4×4. It certainly made it easier to load into the van.

Ok don’t judge my drawing I’m not an artist haha… Please judge my woodwork as I’m wanting to get better. So here are a few photos from my first days. And I want to share with you the tools that I used in this project.
- Circular saw
- Straight edge
- Tape measure
- Table saw
- Cordless drill
- Cordless impact driver
- Kreg pocket hole jig
- Screws
- 18 gauge finishing gun
- Wood glue
- Router with round over bit with bearing at bottom.
- I think that’s it other than screws and nails.


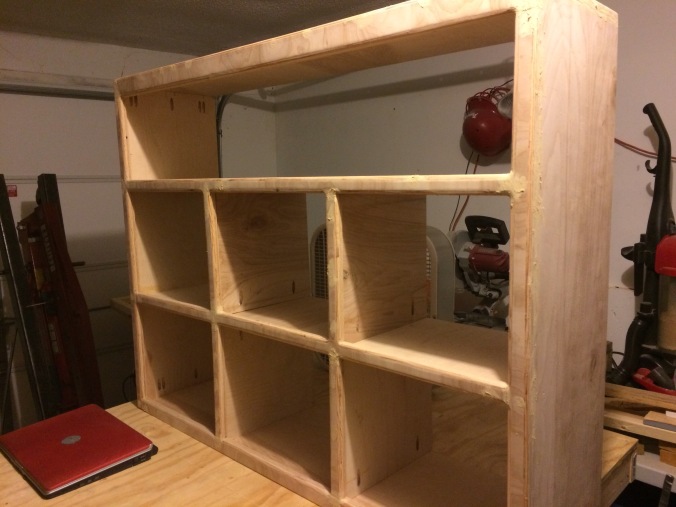
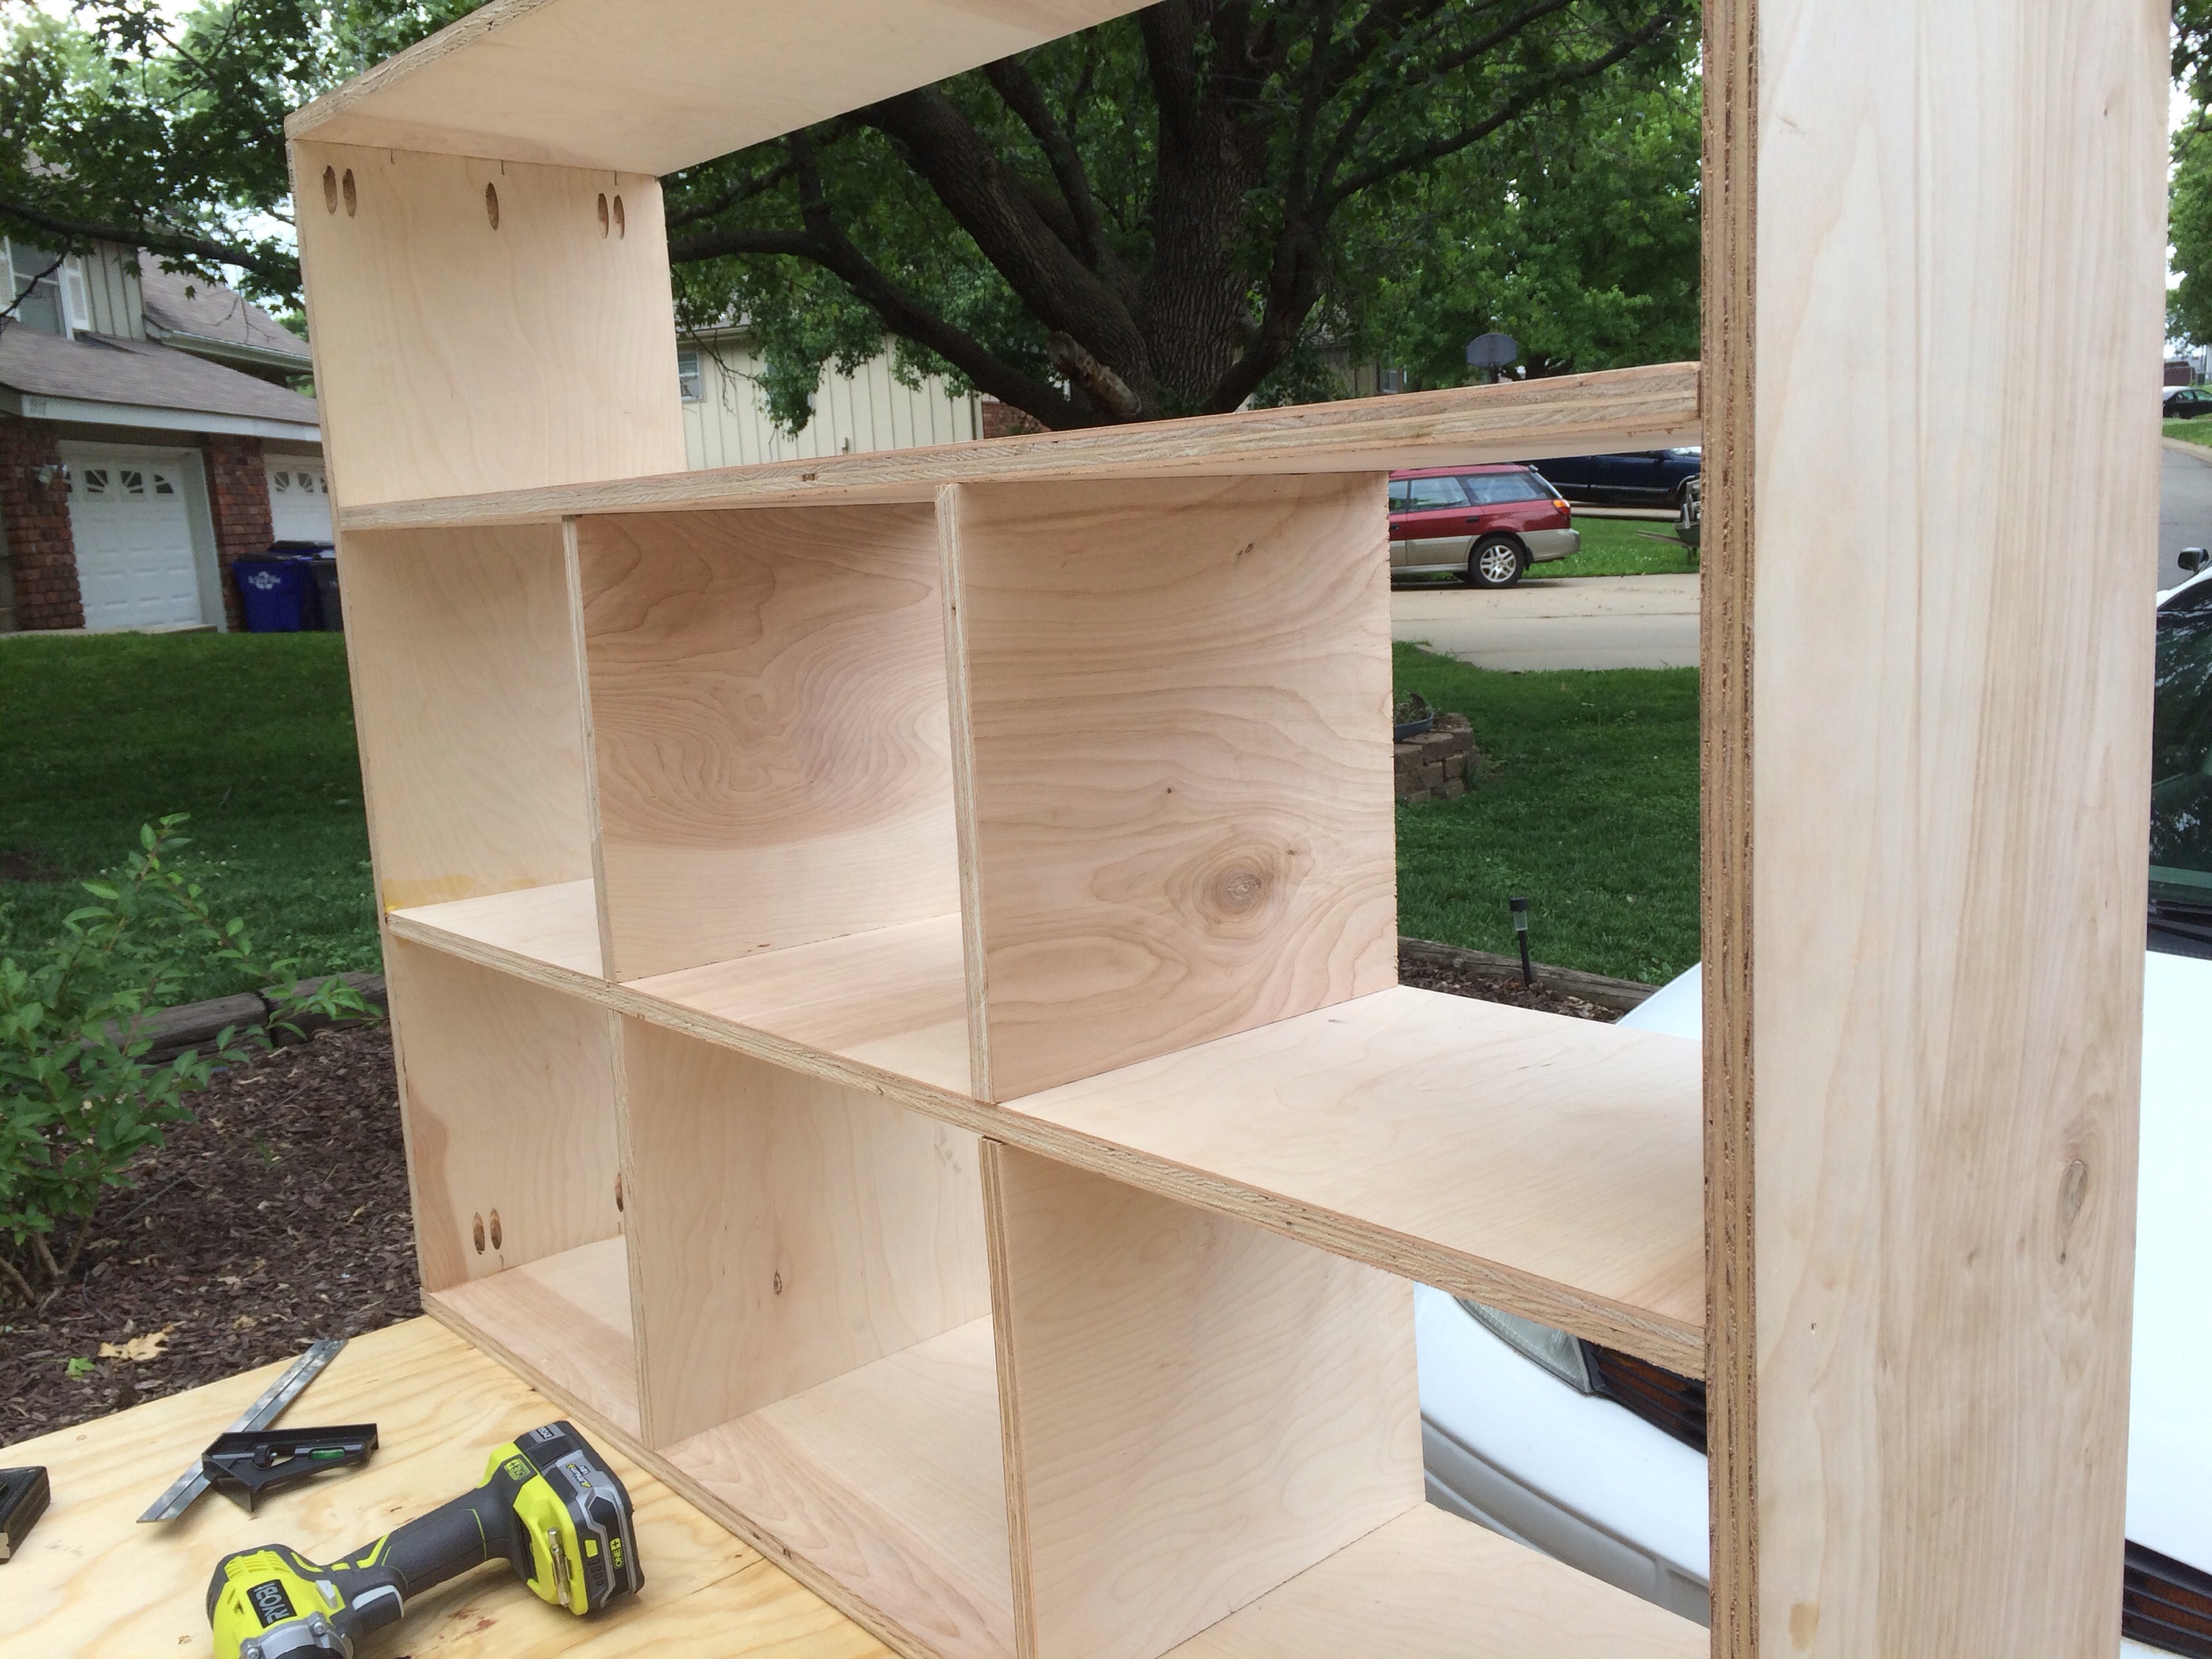


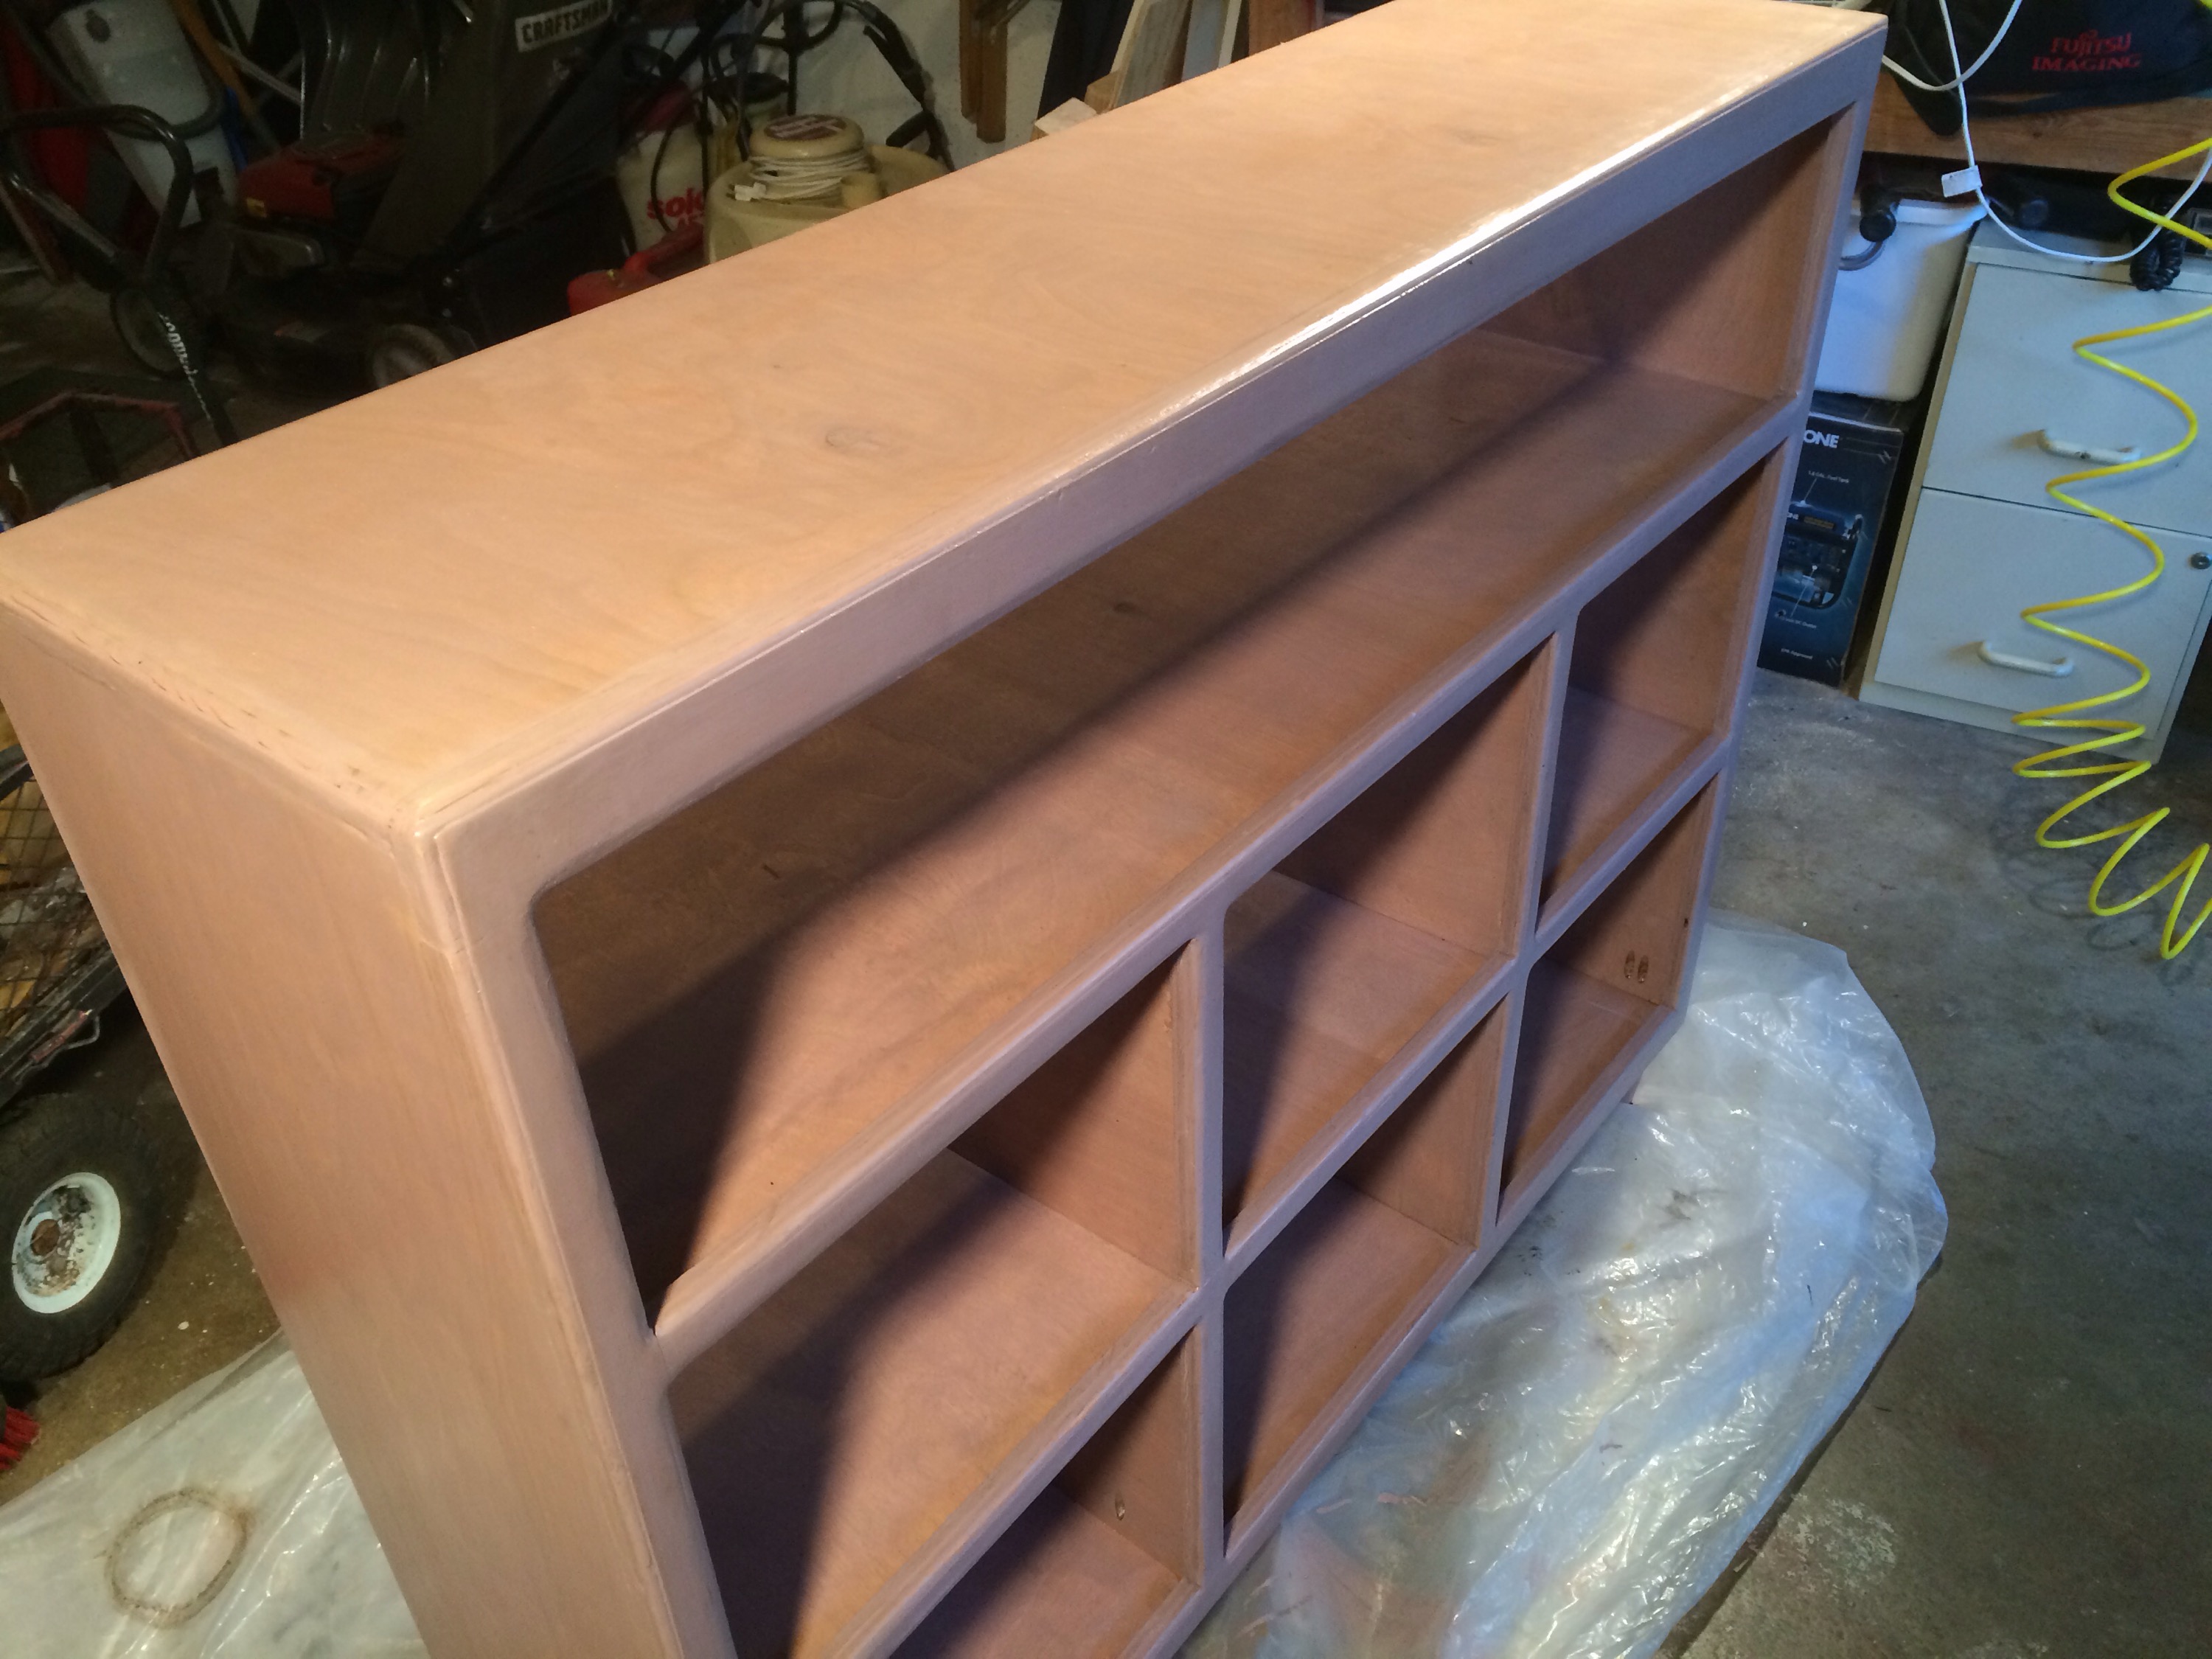
the front trim you see in the two pictures above I used the left over plywood cut into 1 1/2 strips. I glued the together then used a 18 gauge nail gun to tack it to the front. In hind sight I wished I had used the Kreg pocket screws but didn’t have the confidence in my ability to use it for this but I really should have looking back.
You will also see that I filled in the gaps with wood putty but this really didn’t work out like I expected so I saw someone on YouTube use saw dust and wood glue to fill in the gaps and nicks and this worked great. Sorry wish I could remember which YouTube channel I saw it on.
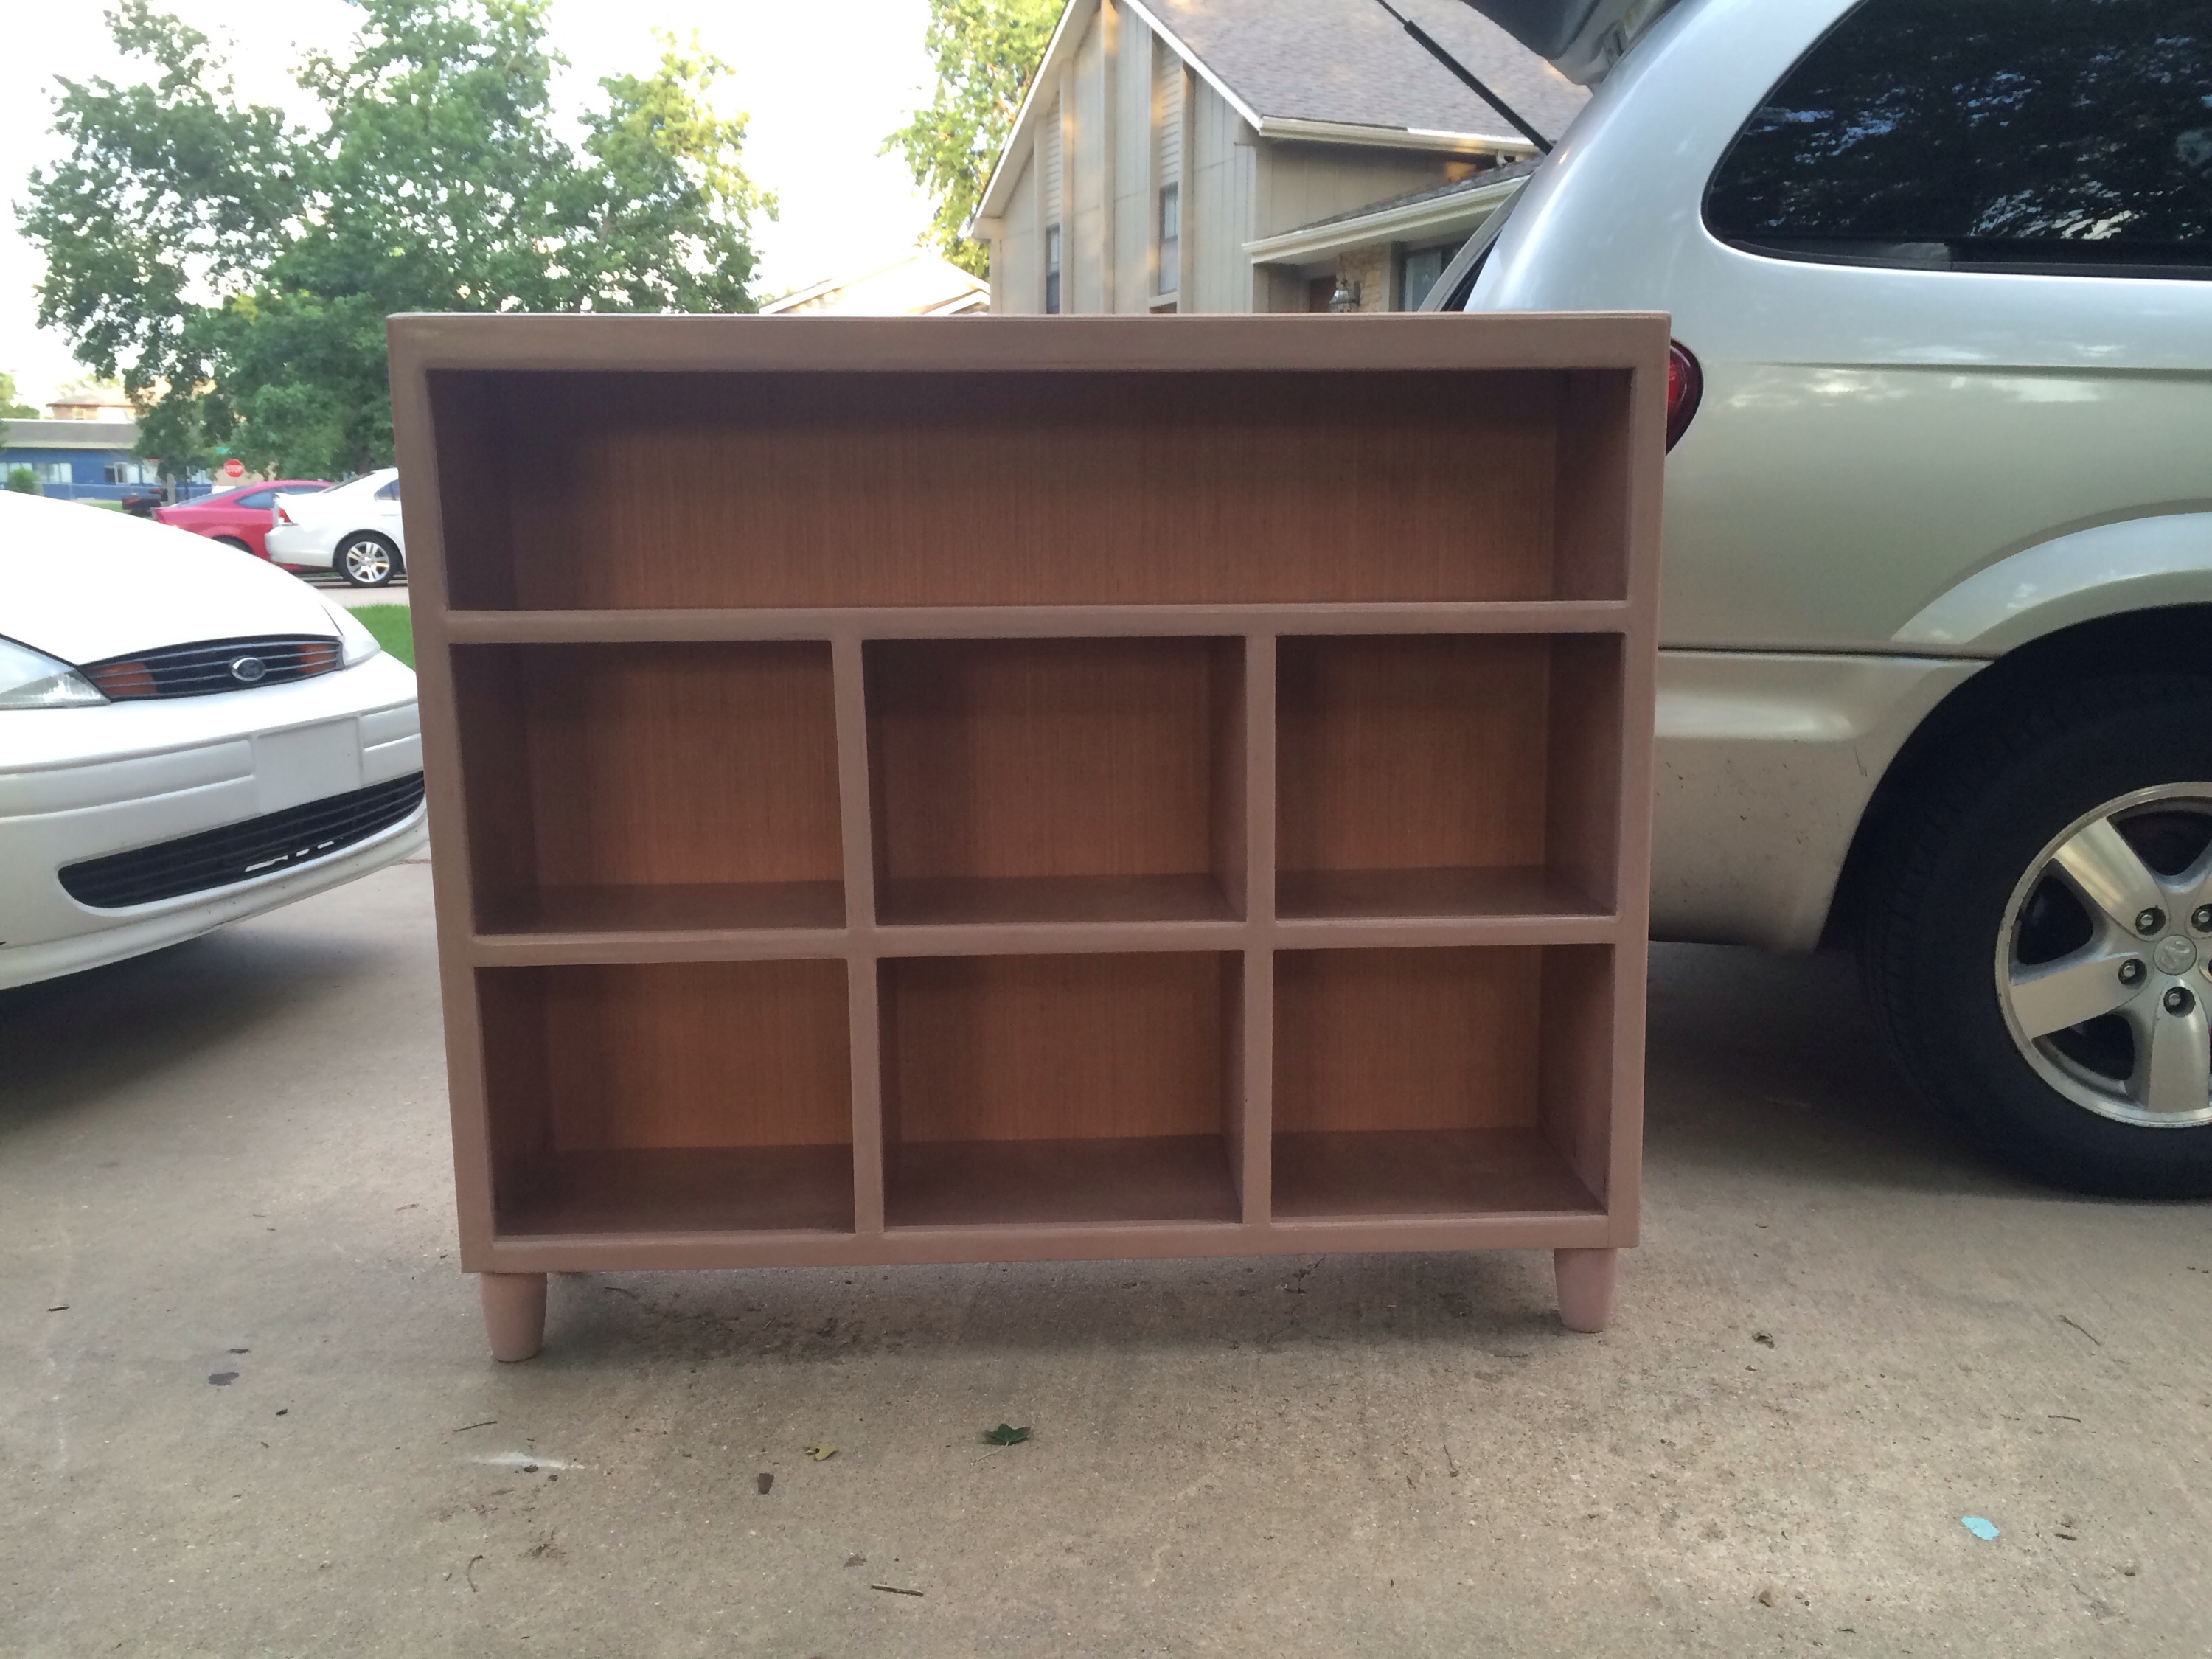
Once I had the wood finished I started to paint well… Stain it. My Daughter picked a pink color stain and there is several ways to create a stain but I took the easy way and went to Sherwin Williams where she picked out a Tuscan Rose stain. I’m kinda glad we went this direction cause I didn’t know that we needed to seal the stain with a polyurethane finish. The customer service was great and recommended a semi gloss finish since I wasn’t used to finishing. Thank you Sherwin Williams


Ready for delivery to our Daughters home now just taking a few snap shots before I load it up.

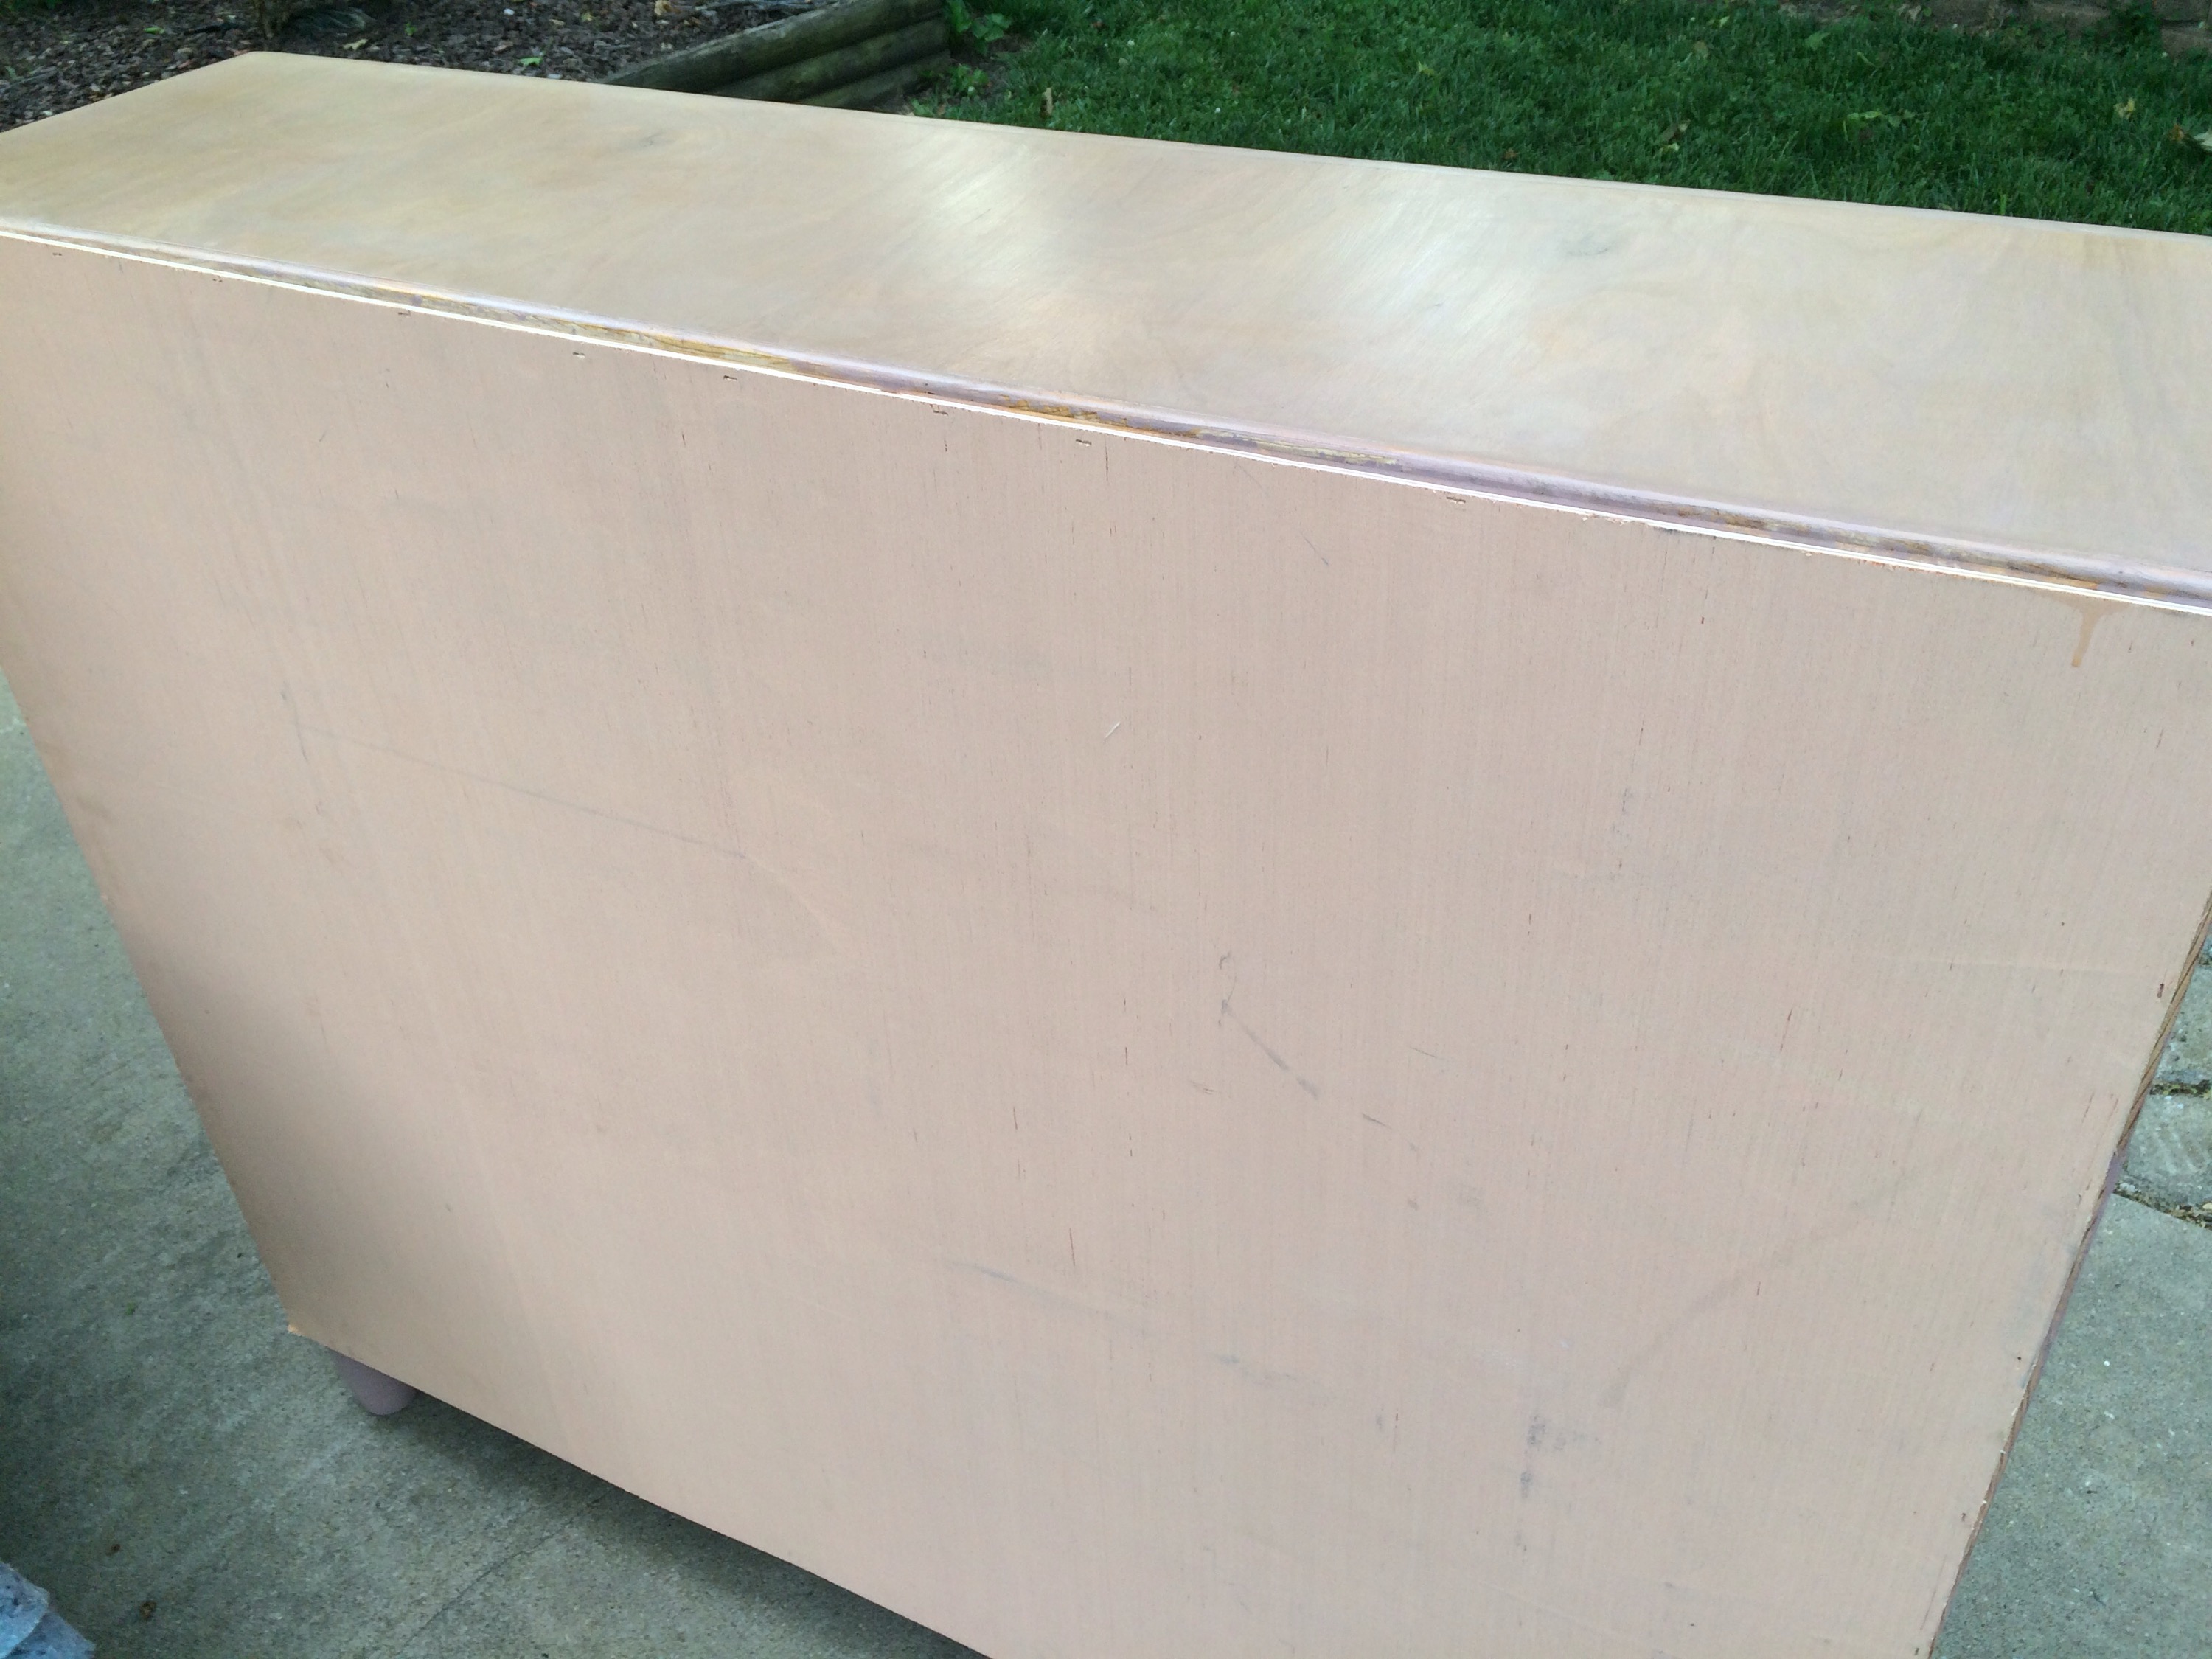
The back of this was a cheaper plywood and fortunately for me it already matched the color so I didn’t have to do anything other than cut and nail it to the back.


I did have to pick up some feet for this which I found for about $7 each. 
Now someday my daughter or granddaughter will see that I signed this. I sure hope this they enjoy it. It should last a long time and have many uses in the future.
Here is what it looked like with the baskets inserted.


I think that they are going to like it.
One thing I almost forgot. Our older Granddaughter likes to climb up on the furniture so I used a couple of brackets that I screwed into a stud of the wall with four 3″ screws with a steel cable screwed into a bracket into the oak plywood shelf. This prevents it from falling over. Tested it and worked great even the baskets didn’t fall out since I had a 1/2 inch lip to hold them in at an angle.
As always let me know what you think and please share your ideas as well. This keeps me learning.
